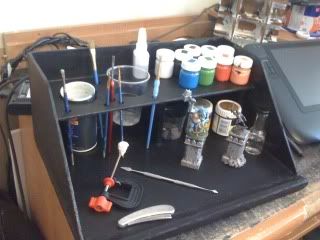
I wanted to try my hand at making a paint station. I like the one in games workshop but I specifically wanted one that was 400mm wide so it fits in a cubby hole on my desk and also on a laptray I normally use to paint. Plus I wanted to tryout my handy work and build something!
Here it is.
I've never done any wood work before, not even at school. So I may not have the lingo down. This topic is just to show everyone how easy it really is to make your own. I am quite pleased with mine, but will make another at some point with some improvments.
What I used:-
8mm chip board about 400mm x 500mm (for the base and back)
4mm fiber board, about 500mm x 500mm.
No more nails, about 1/8/th of a tube.
Polly filler, About 1/4th of a tube.
Small amount of paint.
Drill, with a hole cutter if poss,
Fine Tooth Saw.
Metal ruler
Pencil
A small bit of sand paper
rounded file
I pinched the wood from work and had everything else so the whole thing cost me about 90pence worth of glue, paint and filler.
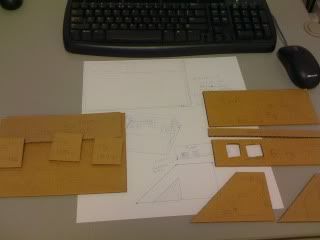
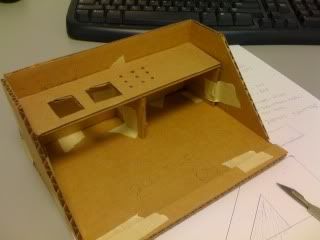
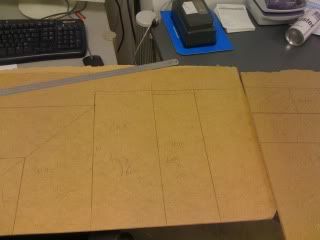
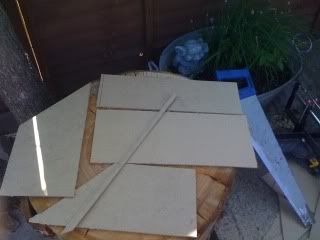
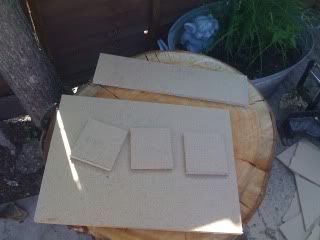
First I made a half size model from card to plan what I wanted it to look like. I worked out the measurements for the larger model and drew up the cuts on the board.
The paint station work out to being the following pieces...
Base, back support and shelf support, chip board.
Back, sides, shelf and front stop from the fiber board.
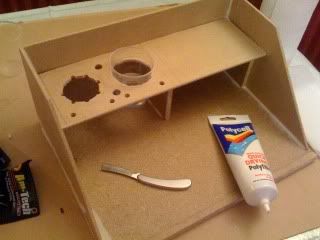
Design how you want your self layed out and how may holes you want before assembly.
I quite literally just stuck it all together with plenty of no more nails and left it to dry.
The fit wasn't great and some of my cuts were a little wonky but I smoothed out all the gaps with pollyfiller and added some to the recesses of the whole desk.
The next day I sanded down all the filler and used a file to round of the edges all over the desk so it would not scrape on any surface or my arms.
I gave it 2 coats of gloss paint, but it really didnt look very good so I gave it one thin coat of model matte black and I'll give it another coat if I see some cheap matte going. But Its good enough for now.
I'm planning to attach a light and a magnifier to it at a later date. I didnt want to try and cut out handles as I would have messed it up. But its so light even with water and paint, that it really doesnt need them. I might also make the right side of the shelf have a 1inch wall round it to keep the paints more secure.
If anyone would like measurements to make their own I'd be happy to help.
Pics...
 Top
Top

